Tuesday, November 22, 2016

BEGINNERS . . . Wishing you a happy Thanksgiving!

Turkey Collage by Lachlan

These turkeys collages were created by our Beginner artists. They include a paper turkey complete with feathers, the sky, the sun, and the grass. Beginners had many creative choices to make, such as their favorite colors for the paper, their designs, and their feathers.

Happy Thanksgiving from our Beginners to all of our Ranney friends and family! 


Turkey Collage by Aaliya

Turkey Collage by Amelie

Turkey collage by Arjun
To see all of our Beginner Turkeys, please visit our home page at Artsonia.com and scroll down to see the Beginner's artwork!  http://www.artsonia.com/schools/school.asp?id=114839 

LOWER SCHOOL ART SHOW !!!


Monday, November 21, 2016

FOURTH GRADE . . . The Renaissance meets modern technology!


Our wall of mirror image portraits in our art show

Fourth grade self portraits began as a lesson in technology when we learned how to use Adobe Photoshop in our art class. Then we turned back the clock to the 16th century and learned about the life and work of Leonardo da Vinci. Inspired by his mirror image writing, we retouched our photos on the computer and then created a mirror image drawing of one half of the photograph.

It was not possible to upload these drawings to Artsonia because they contain photographic images. Please come by Panther Hall gallery to see all of our amazing mirror image portraits!


The second part of our self-portrait project brought us up to modern times and the magic of Adobe Photoshop. Each student began with their image and learned the basic steps to crop, re-size, and adjust the brightness scale. Then they explored the artistic filters to create these amazing transformations. A favorite transformation occurs in the Liquify window with tools that slide pixels around on the screen, bloat or pucker areas of the image, and create swirls like in a Vincent van Gogh painting. Other students used filters to change the look of the photograph into a pencil drawing or a carved image.

There are many photo editing programs and apps out there for people to use with their digital images, but the special effects cannot be controlled or customized. With Photoshop, our fourth graders learned how to create an original work of art out of a photograph, all on their own!


FIFTH GRADE . . . Digital portraits on display!


Our 5th grade self-portraits are digital portraits! We used an app on the iPad called, Sketchbook Pro. This app allows us to work from a photograph and to work in layers. In the tools palette of the app you are able to select from a pencil, pen, paintbrush, airbrush, eraser, chisel marker and many other art tools. In addition, you are able to choose the weight of line, the opacity of the color and work in colors from a variety of different palettes. The choice of how you draw and what you can create is endless!

David Hockney
iPad Illustration for the New Yorker
David Hockney is a famous present day artist from England, well known for his bold and colorful canvases. Mr. Hockney has also become known for his digital artwork as well, using drawing apps and creating illustrations for the cover of the New Yorker Magazine. Creating art on a tablet or phone is no longer just a game or a way to pass the time, it is used by many artists as their modern day sketchpad and can be considered a serious art form that reflects our time.

Here is a quote by David Hockney...
“People from the village come up and tease me: ‘We hear you’ve started drawing on your telephone,’” Mr. Hockney said in a quotation displayed in the exhibition. “And I tell them, ‘Well, no, actually, it’s just that occasionally I speak on my sketch pad.’”


When we drew our portraits, we worked in layers. One layer was our drawing layer, using a thin black line. The next layer was our color layer and we could choose from many colors in a variety of color palettes, as well as pick up a color directly from the photograph. The final layer was created for the background design and that layer sits behind everything else.

To see all of our portraits, come by Panther Hall gallery at any time this month. You can also check out our exhibition page on Artsonia.com.
http://www.artsonia.com/schools/school.asp?id=114839

PRE - KINDERGARTEN . . . tracing our hands and feet!

Portrait by Lila

Portrait by Sharnagat

Portrait by Zaid
Portrait by Lily

Pre-Kindergarten artists have their self-portraits lining the wall in Panther Hall gallery. We started out by tracing our hands onto big paper and coloring them in with colors and patterns we enjoy. Then we took off our shoes to trace them onto the paper too. The idea that we would actually trace our feet brought out many giggles in art!

Our faces were drawn with an oval at the top of the paper. We added eyes, noses and mouths and used markers to trace over our lines. Crayons were used to add skin and hair colors.

Making a portrait that represents who we are is a fun and creative way to get to know each other in class. We can't wait to share all of them with you at our art show! To see all of our work, please visit our home page on Artsonia.com and scroll down through the exhibits to the Pre-Kindergarten portraits.   http://www.artsonia.com/schools/school.asp?id=114839

THIRD GRADE . . . Painting our portraits

Portrait by Ava

Portrait by Lukas

Portrait by Zuri

Portrait by Savanna

Third graders are all proud to display their portrait paintings in our gallery. To complete these portraits, we blocked in the main colors of the canvas first, the skin tone, the shirt and the background designs. Our hair, the features of our faces and any other small detail designs were added as finishing touches.

Just like with our skin tones, we tried to match our hair color to best represent us in the portrait. With a wide brush we painted the hair in the same direction our hair grows, treating the paint brush as we would a hair brush. With a smaller detail brush we added eyebrows to match the hair color.

For our eyes, we painted just the center circle of the drawn eye with blue, brown or hazel. Then using the smallest brush possible, we added the black circle of the pupil, a white dot for the highlight in the eye, and a very thin line to create the upper lid, indicating the line of the lashes. This is how famous impressionist artist, Pierre-Auguste Renior, painted eyes in his portraits. Simple and soft, but very realistic looking.

We finished up our portraits with a lip color and added other details to make our portraits special and uniquely ours. I hope to see everyone at the art show this month in Panther Hall Gallery! You can also log onto Artsonia, an online museum that Ranney School participates in and see all of our 3rd grade artwork there.  http://www.artsonia.com/schools/school.asp?id=114839

THIRD GRADE . . . How to draw a selfie!

Every grade in Lower School has a self-portrait in our art show. It is a great way to get to know our new friends through self expression and creative discovery. Some grades do a pencil sketch, some show off their love of color with markers or crayons, and others are experimenting with new technology and retouching their photos on the computer. This year, third graders created their self portrait as a full painting on canvas. We are using 11 x 14 canvas boards for this project and we will learn how to select a color palette that best represents us.

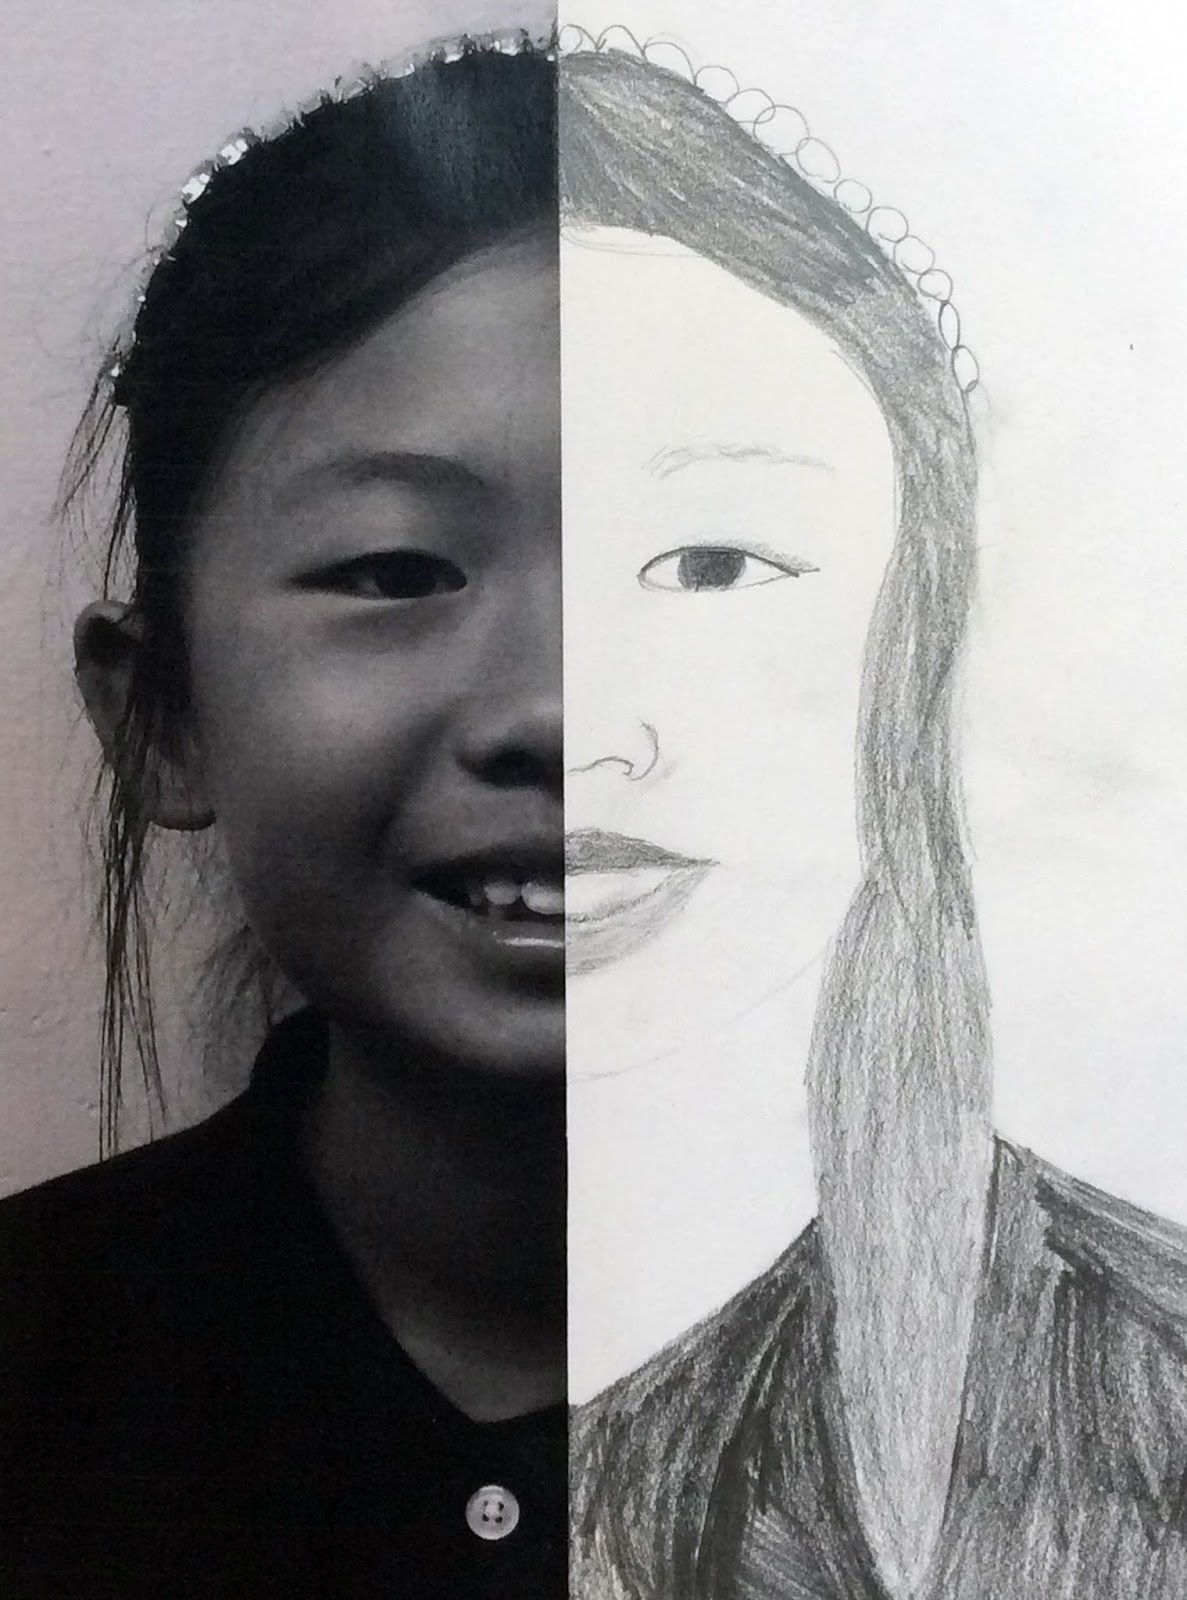
To create our portraits, we began with an oval for the face. The vertical line down the middle of the oval divides our face in half. We are all basically symmetrical and everything we add to one side of this line we can repeat on the other side.

It is hard to believe that your eyes are half way down your head, but the horizontal line dividing the head in half is where we draw our eyes. The eyes begin as an oval but then we correct the ends of each oval to look more like an almond shape. Students learned how to add the iris inside the eyes as if they are adding a pair of parentheses, from top to bottom. We don't want to see any white above or below the circle of color in our eyes. We added eyelids and eyebrows to complete our eyes. The nose in a third grade painting is a realistic nose that sits halfway between the eyes and the chin. Then the mouth which begins as just an expression line is halfway between the nose and the chin.

Next. we completed the mouth with a lower lip and an upper lip. Notice how the mouth is wider than the nose? Students often make their mouth too small. And boys all giggle when they have to draw lips! We all have two lips on our adorable faces, why not draw them? The lips do not have to be painted in with bright red, but they are definitely part of our face.

The ears line up with our eyes. They start at the line of the eyes and go down as far as the base of the nose. We added a neck wide enough to support our heads but not too long. (I don't remember any giraffes sitting in art class today!) Finally, to indicate a body, we add shoulders that are nicely rounded and extend past the width of the head on both sides.

Short Hair
Long Hair
Hair is a big deal for our self portraits, Based on the color and the style it can do more to make our self portraits look just like us than any other feature. To begin drawing the hair, we start with the hair line, just above our foreheads. We draw a line from one ear up above the eye brows, across the oval, and back down to the other ear. Depending on the part in your hair or whether or not you have bangs, this line can reflect your hairstyle.

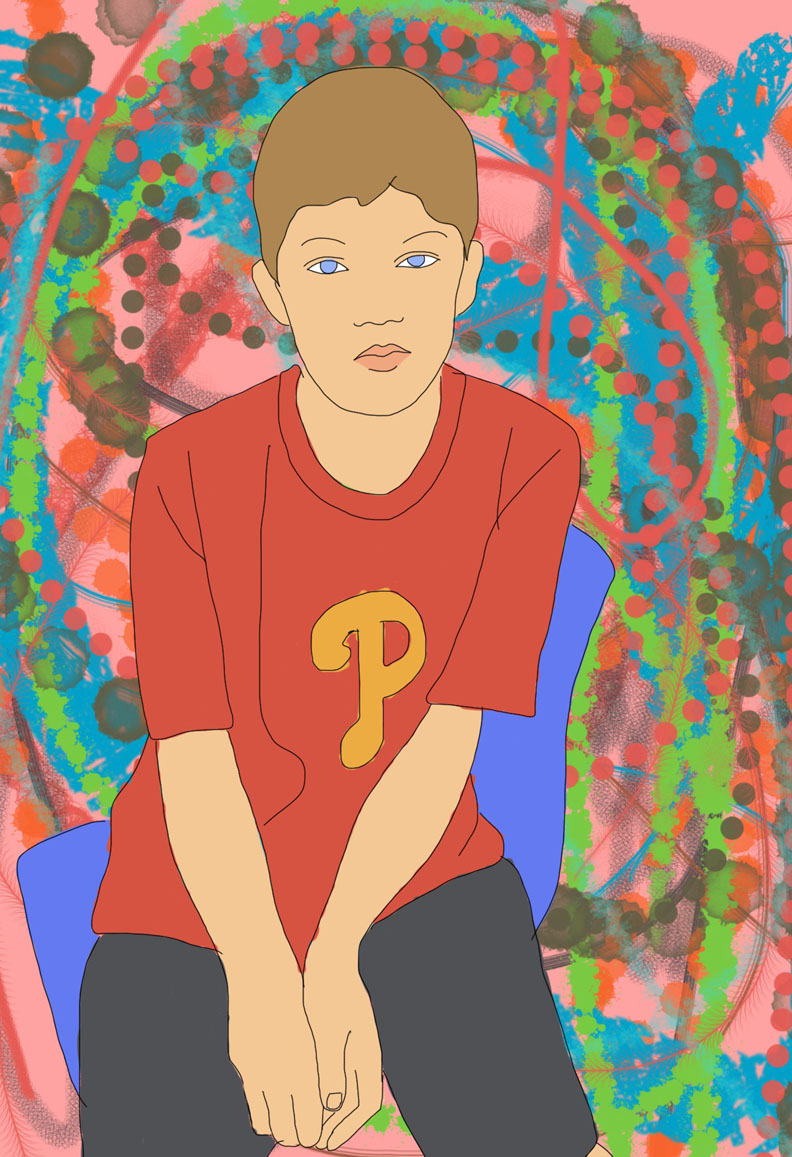
To make short hair, we draw a line around the top of the oval, adding volume above our head. To make long hair, we start at the top of the oval and bring the hair down to the shoulders. Adding special details such as a design on the shirt, or headbands and jewelry, also helps to express our personality through our portraits and tell the world who we are.


Note to families . . .
    This art blog will be updated regularly with new posts sharing our daily activities in the art room and news about upcoming art exhibits. To respect the privacy of our students, names will always be limited to first name only and identifiable photos will never be accompanied with a name. If you have any questions or comments, please feel free to write in the comment box below or send me an email at blevine@ranneyschool.org. I would love to hear from you!
    In my class, students are given the chance to explore different materials and fun new techniques as they develop their signature style. Some young artists love to draw with a pencil, some like to paint on canvas or create images in a digital format, while others prefer working with clay and molding three-dimensional forms. In my classroom, we use a variety of materials allowing all artists to experiment and figure out which type of art they like the best. At Ranney School, we place a strong emphasis on originality and celebrate artistic differences, always nurturing and encouraging the imagination of every student.
     Remember to check out our display of finished artwork and student portfolios in the Ranney home page of Artsonia.com.  http://www.artsonia.com/schools/school.asp?id=114839